多语言插件开发
# 多语言插件开发
# JavaScript 开发
详情
- 基于 Visual Studio Code或其它开发工具编写JavaScript脚本
- 将文件保存为.js文件
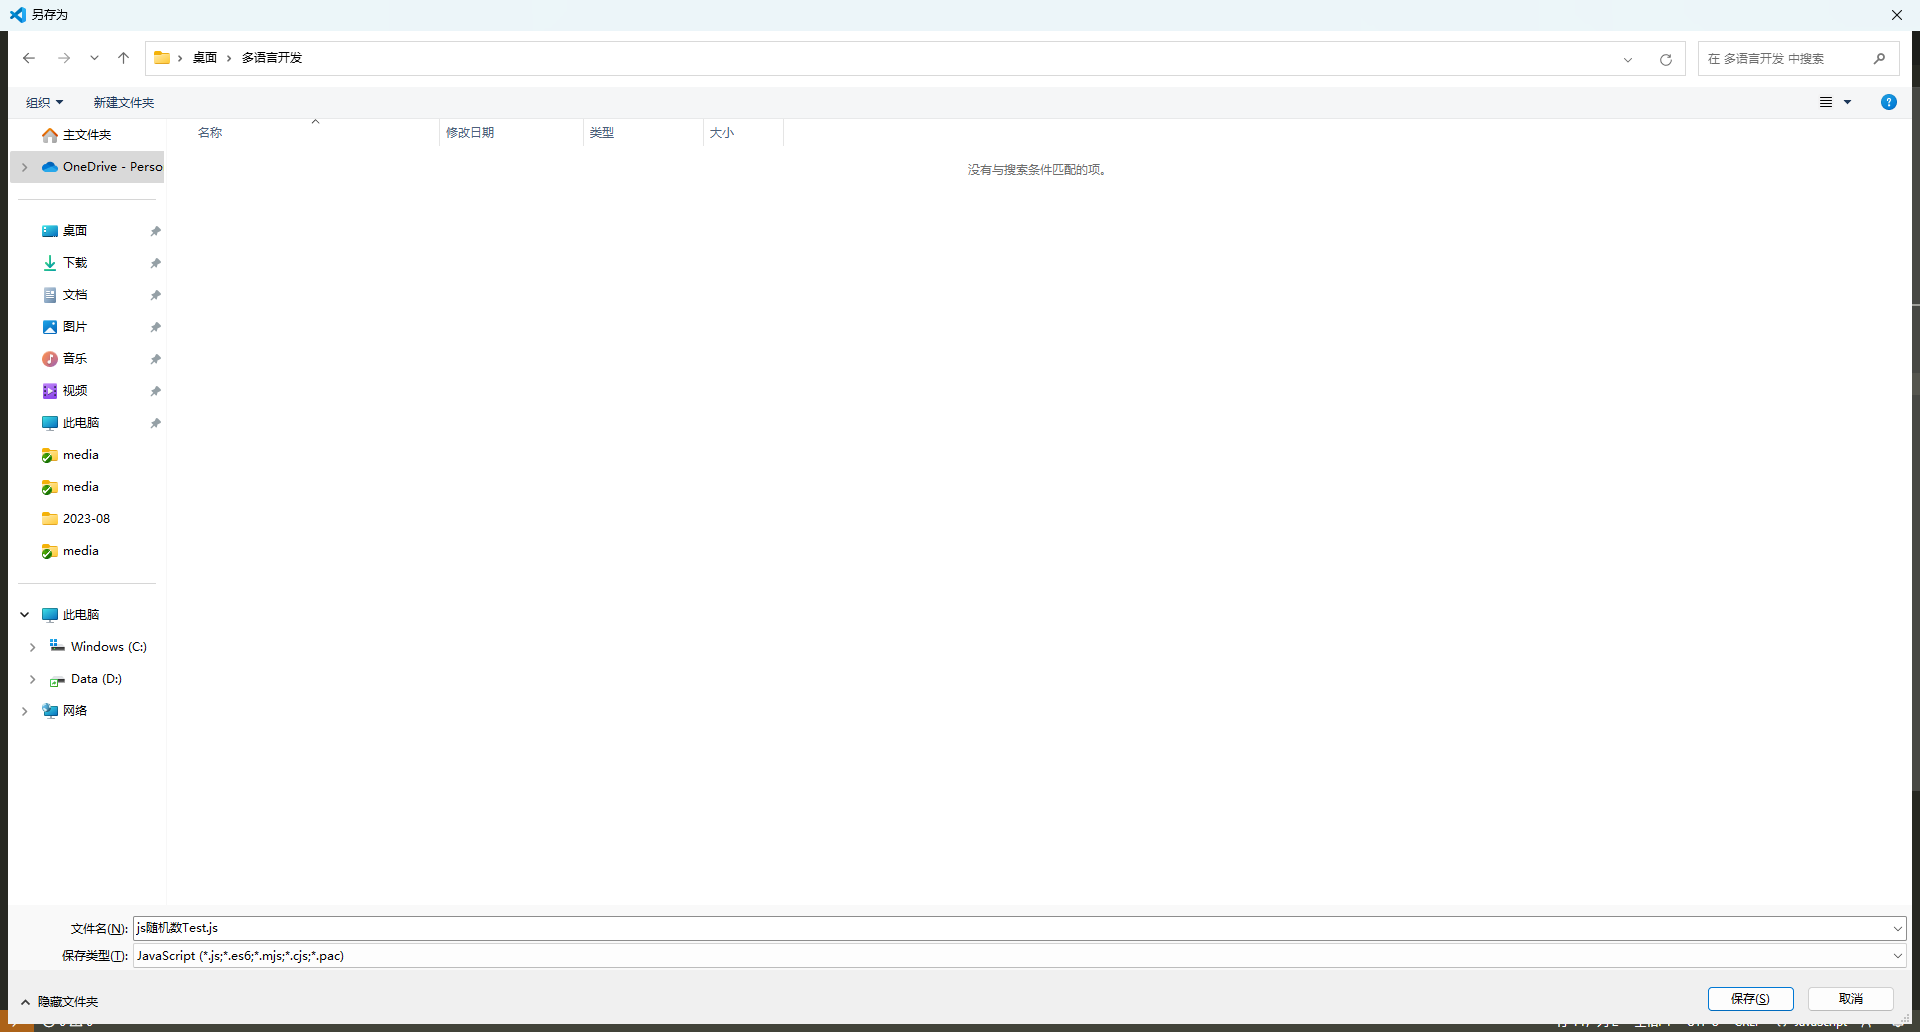
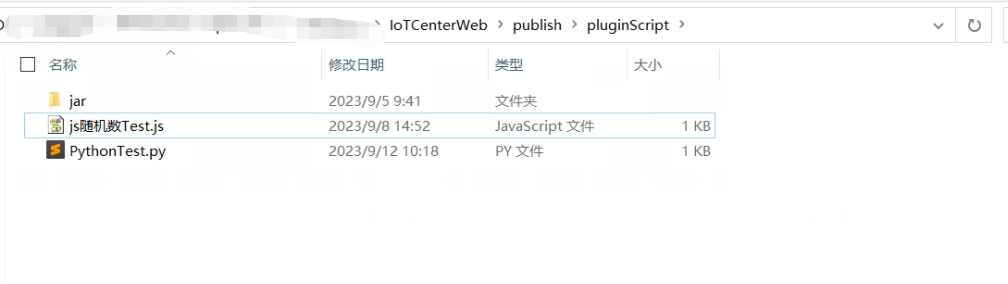
将.js 文件移动到\IoTCenterWeb\publish\pluginScript 目录下(如果pluginScript目录不存在请先新建一个pluginScript 文件夹)
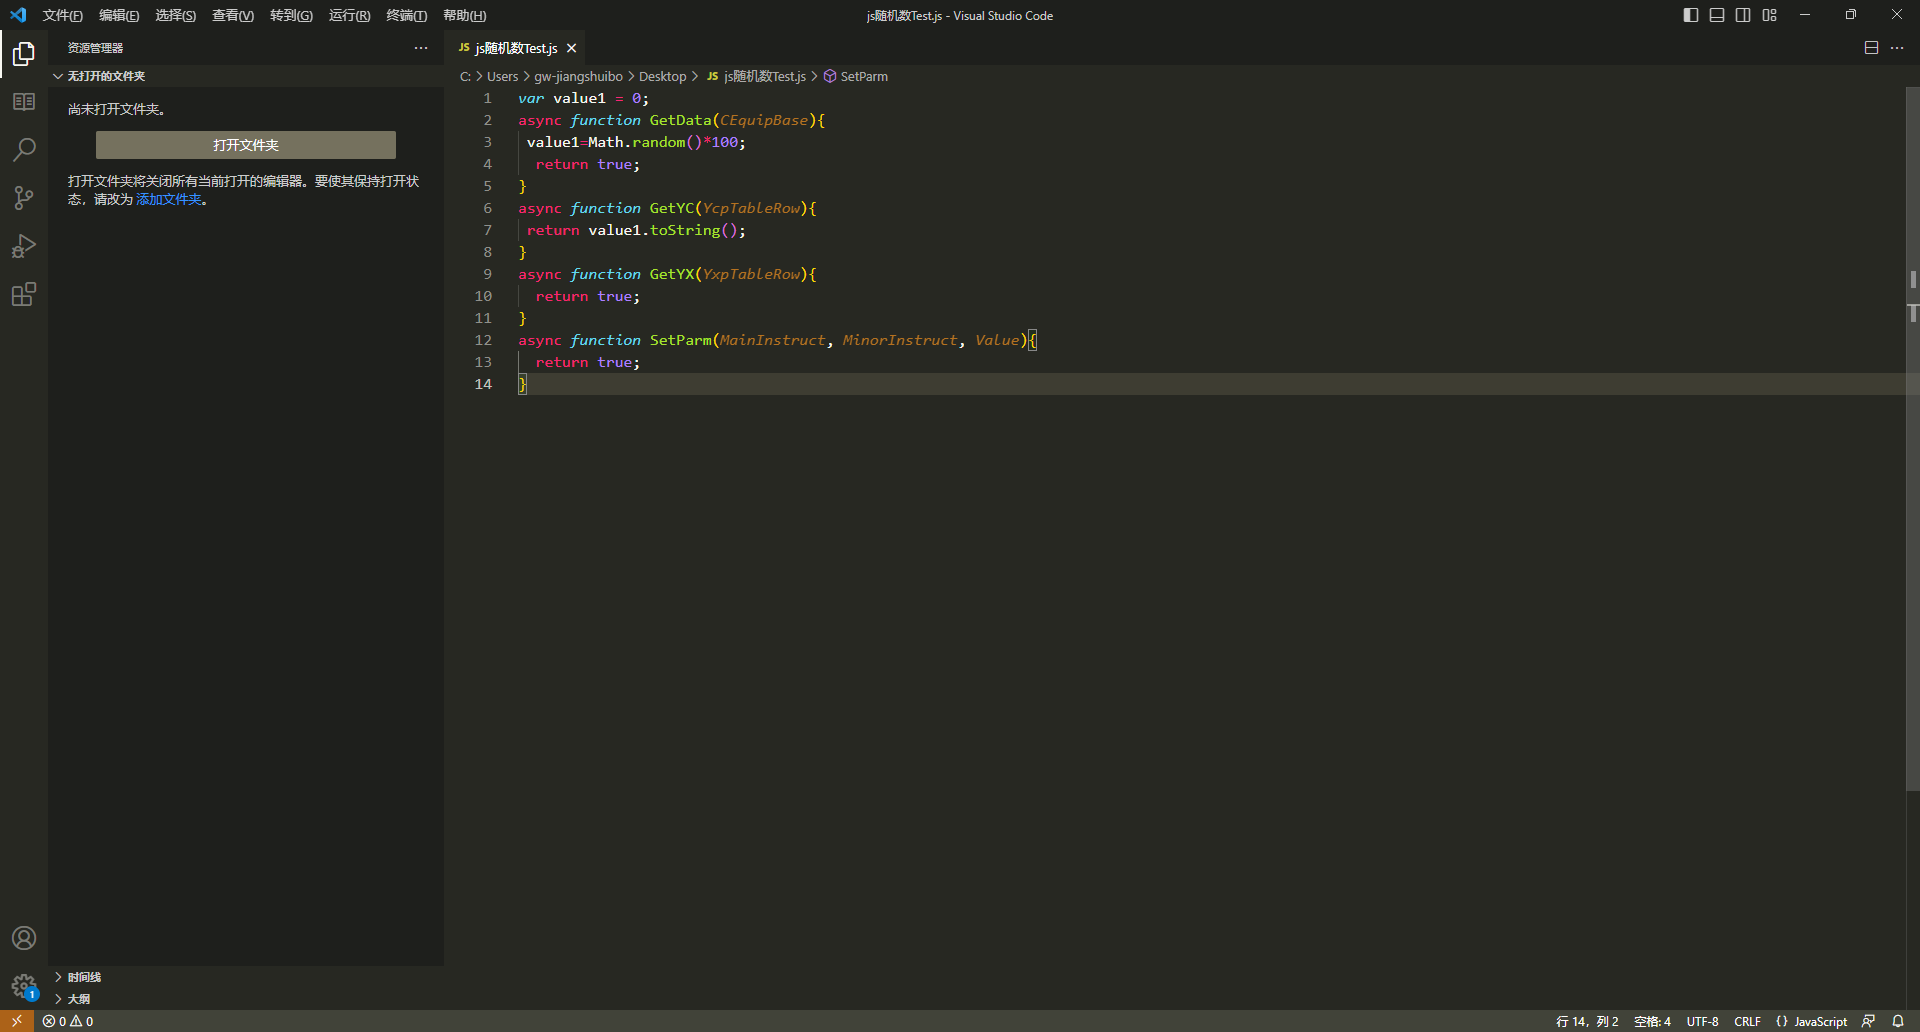
脚本示例(随机数)
var value1 = 0;
async function GetData(CEquipBase){
 value1=Math.random()*100;
  return true;
}
async function GetYC(YcpTableRow){
 return value1.toString();
}
async function GetYX(YxpTableRow){
  return true;
}
async function SetParm(MainInstruct, MinorInstruct, Value){
  return true;
}
# Python开发
详情
- Python开发环境 基于 Visual Studio Code或其它开发工具编写Python脚本
将文件保存为.py文件
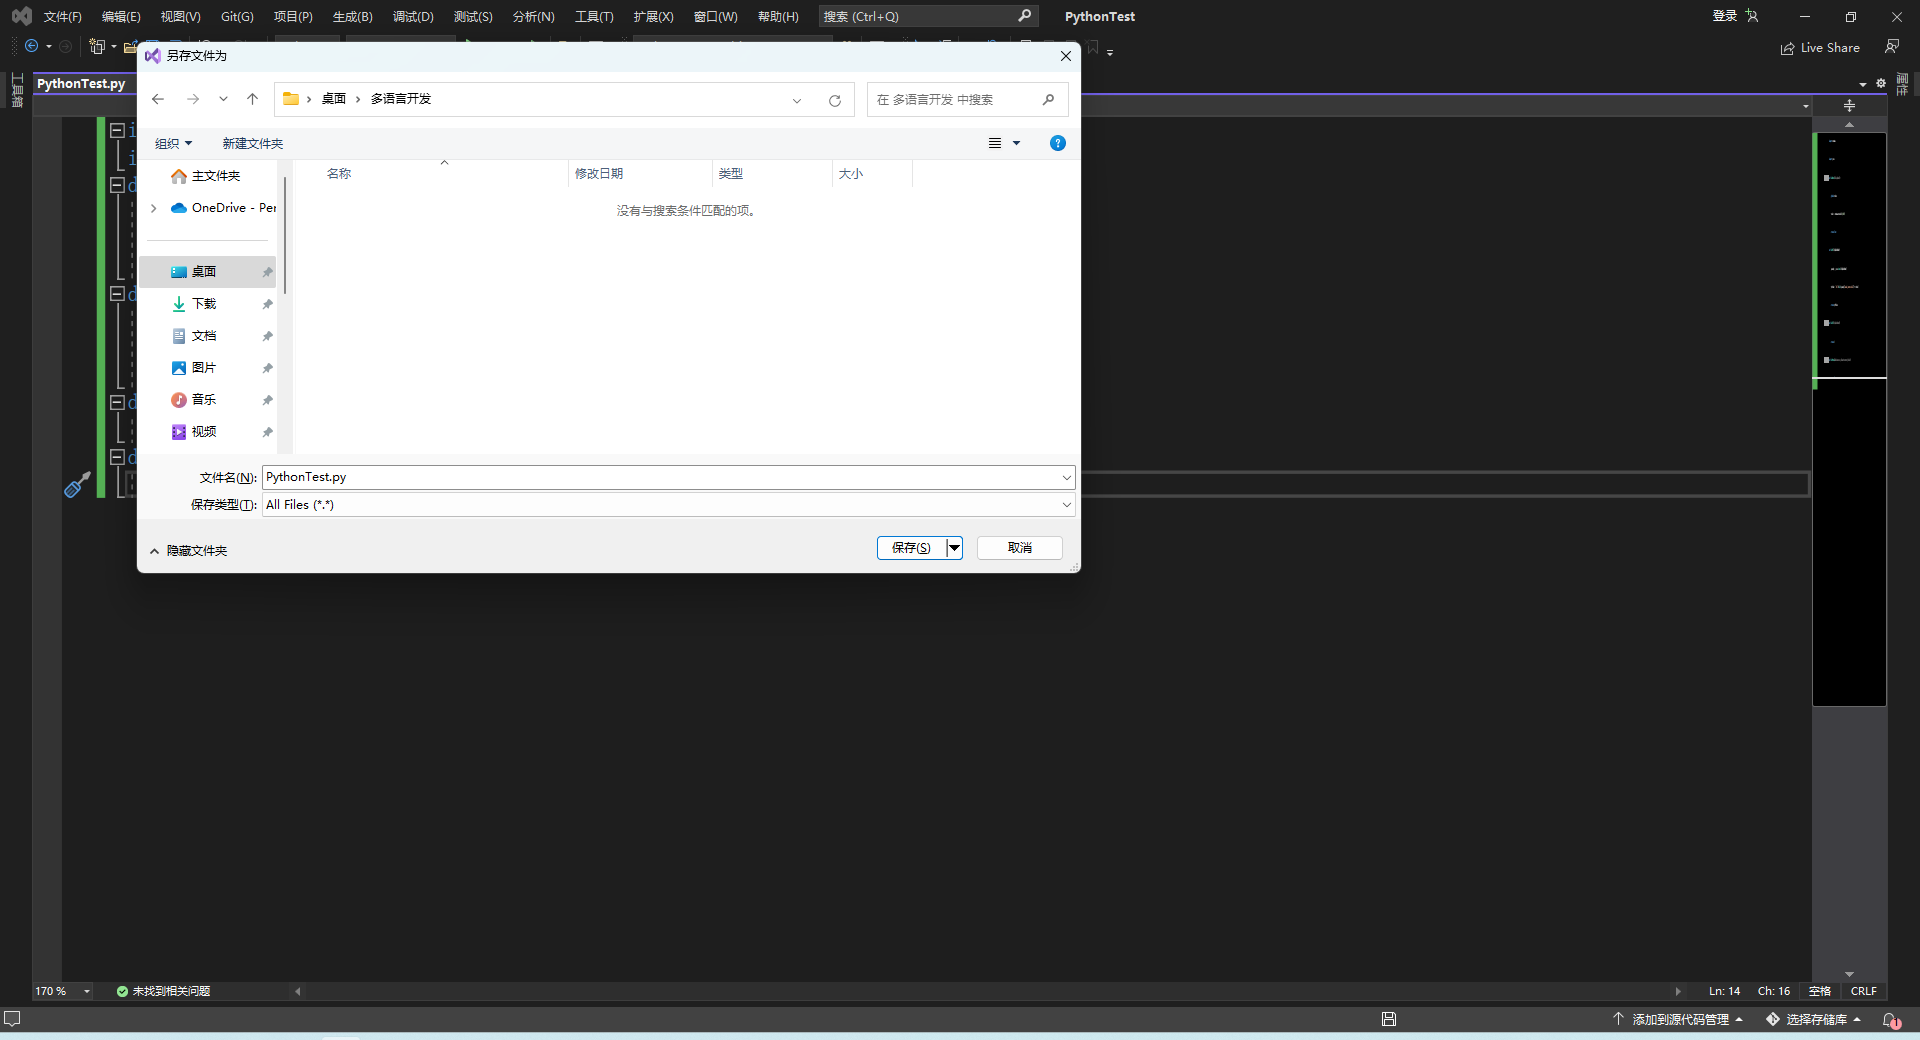
将.py 文件移动到\IoTCenterWeb\publish\pluginScript 目录下(如果pluginScript目录不存在请先新建一个pluginScript 文件夹)
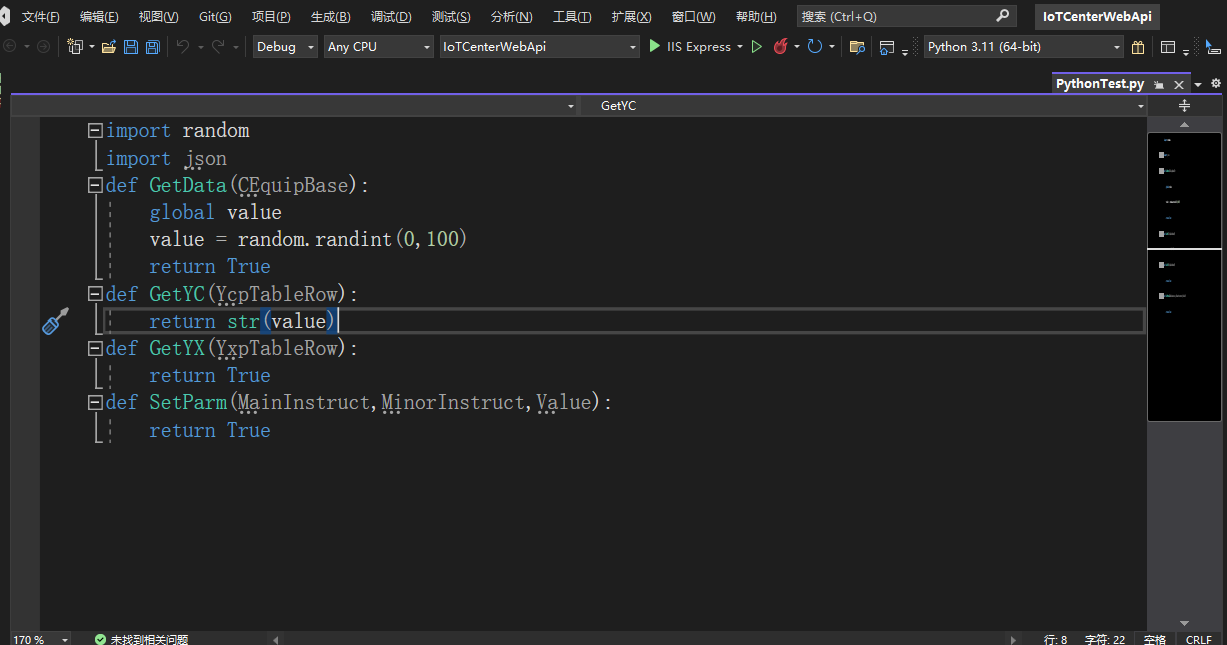
- 脚本示例(随机数)
import random
import json
def GetData(CEquipBase):
    global value
    value = random.randint(0,100)
    return True
def GetYC(YcpTableRow):
    jsonobj = json.loads(YcpTableRow)
    ycValue = '%d' %(int(jsonobj['main_instruction']) * value)
    return ycValue
def GetYX(YxpTableRow):
    return 1
def SetParm(MainInstruct,MinorInstruct,Value):
return True
# Java开发
详情
- 开发环境 需要安装java的jdk,推荐使用jdk8 编译工具使用idea或eclipse
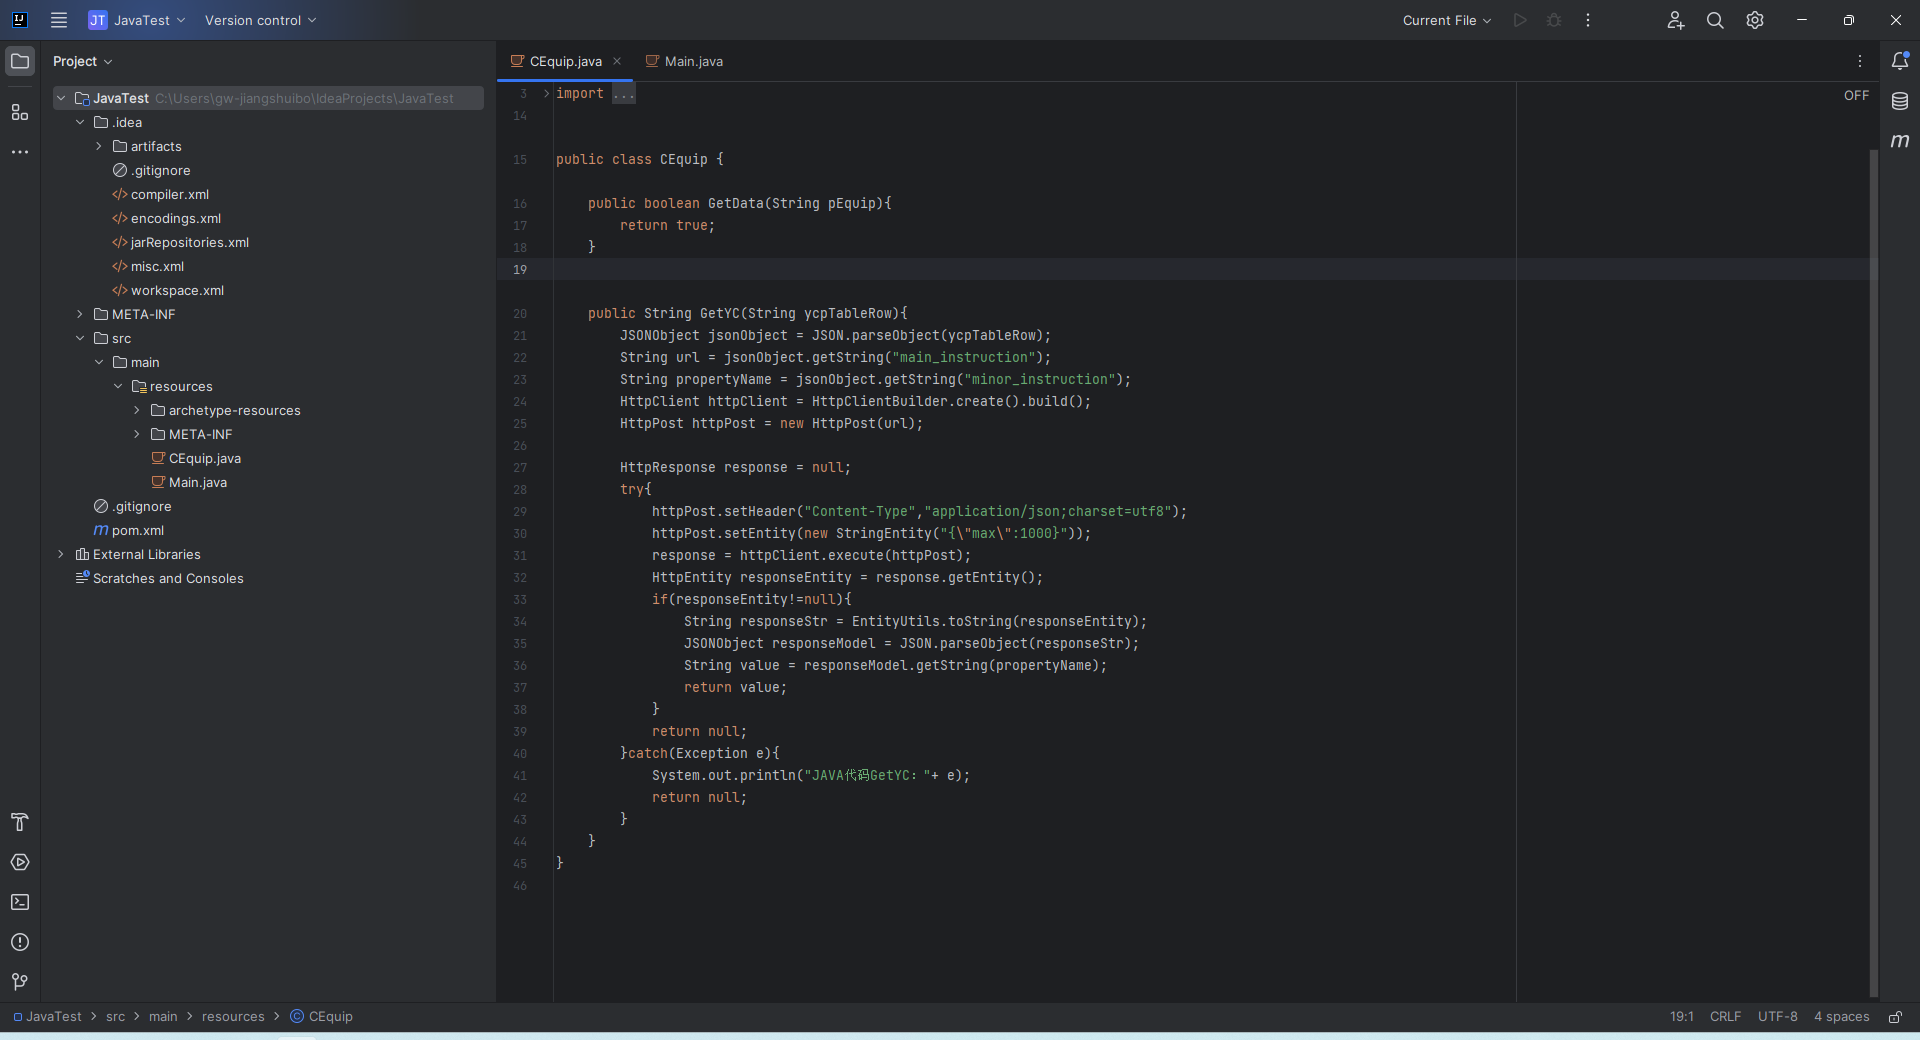
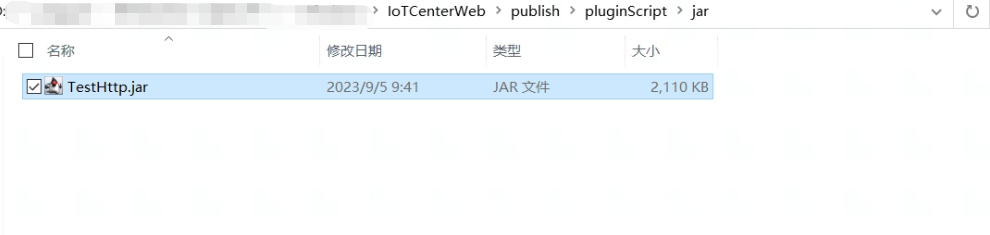
- 文件保存为.jar文件 参考4.5java打包注意事项 将打包好的.jar 文件移动到\IoTCenterWeb\publish\pluginScript\jar 目录下(如果pluginScript\jar目录不存在请先创建pluginScript和jar文件夹)
- 脚本示例(随机数) 代码示例:
CEquip.java
package org.example;

import com.alibaba.fastjson.JSONObject;
import com.alibaba.fastjson.JSON;
import org.apache.http.HttpEntity;
import org.apache.http.HttpResponse;
import org.apache.http.client.HttpClient;
import org.apache.http.client.methods.HttpPost;
import org.apache.http.entity.StringEntity;
import org.apache.http.impl.client.HttpClientBuilder;
import org.apache.http.util.EntityUtils;

import java.net.InetAddress;

public class CEquip {
    public boolean GetData(String pEquip){
        return true;
    }

    public String GetYC(String ycpTableRow){
        JSONObject jsonObject = JSON.parseObject(ycpTableRow);
        String url = jsonObject.getString("main_instruction");
        String propertyName = jsonObject.getString("minor_instruction");
        HttpClient httpClient = HttpClientBuilder.create().build();
        HttpPost httpPost = new HttpPost(url);

        HttpResponse response = null;
        try{
            httpPost.setHeader("Content-Type","application/json;charset=utf8");
            httpPost.setEntity(new StringEntity("{\"max\":1000}"));
            response = httpClient.execute(httpPost);
            HttpEntity responseEntity = response.getEntity();
            if(responseEntity!=null){
                String responseStr = EntityUtils.toString(responseEntity);
                JSONObject responseModel = JSON.parseObject(responseStr);
                String value = responseModel.getString(propertyName);
                return value;
            }
            return null;
        }catch(Exception e){
            System.out.println("JAVA代码GetYC:"+ e);
            return null;
        }
    }
}
Main.java
package org.example;

// Press Shift twice to open the Search Everywhere dialog and type `show whitespaces`,
// then press Enter. You can now see whitespace characters in your code.
public class Main {
    public static void main(String[] args) {
        new CEquip().GetYC("{\"sta_n\":1,\"equip_no\":127,\"yc_no\":1,\"yc_nm\":\"random\",\"mapping\":false,\"yc_min\":0.0,\"yc_max\":1000.0,\"physic_min\":0.0,\"physic_max\":1000.0,\"val_min\":0.0,\"restore_min\":0.0,\"restore_max\":1000.0,\"val_max\":1000.0,\"val_trait\":0,\"main_instruction\":\"http://1.15.127.210:8092/IntelligentData/TestPostApi\",\"minor_instruction\":\"random\",\"alarm_acceptable_time\":0,\"restore_acceptable_time\":0,\"alarm_repeat_time\":0,\"proc_advice\":\"\",\"lvl_level\":3,\"outmin_evt\":\"过低。\",\"outmax_evt\":\"过 高。\",\"wave_file\":\"YC2_2_0.wav/YC2_2_1.wav\",\"related_pic\":\"\",\"alarm_scheme\":15,\"curve_rcd\":true,\"curve_limit\":0.0,\"alarm_shield\":\"\",\"unit\":\"\",\"AlarmRiseCycle\":0,\"Reserve1\":\"\",\"Reserve2\":\"\",\"Reserve3\":\"\",\"related_video\":\"\",\"ZiChanID\":\"\",\"PlanNo\":\"\",\"SafeTime\":\"\",\"GWValue\":null,\"GWTime\":null,\"datatype\":null}");
    }
}
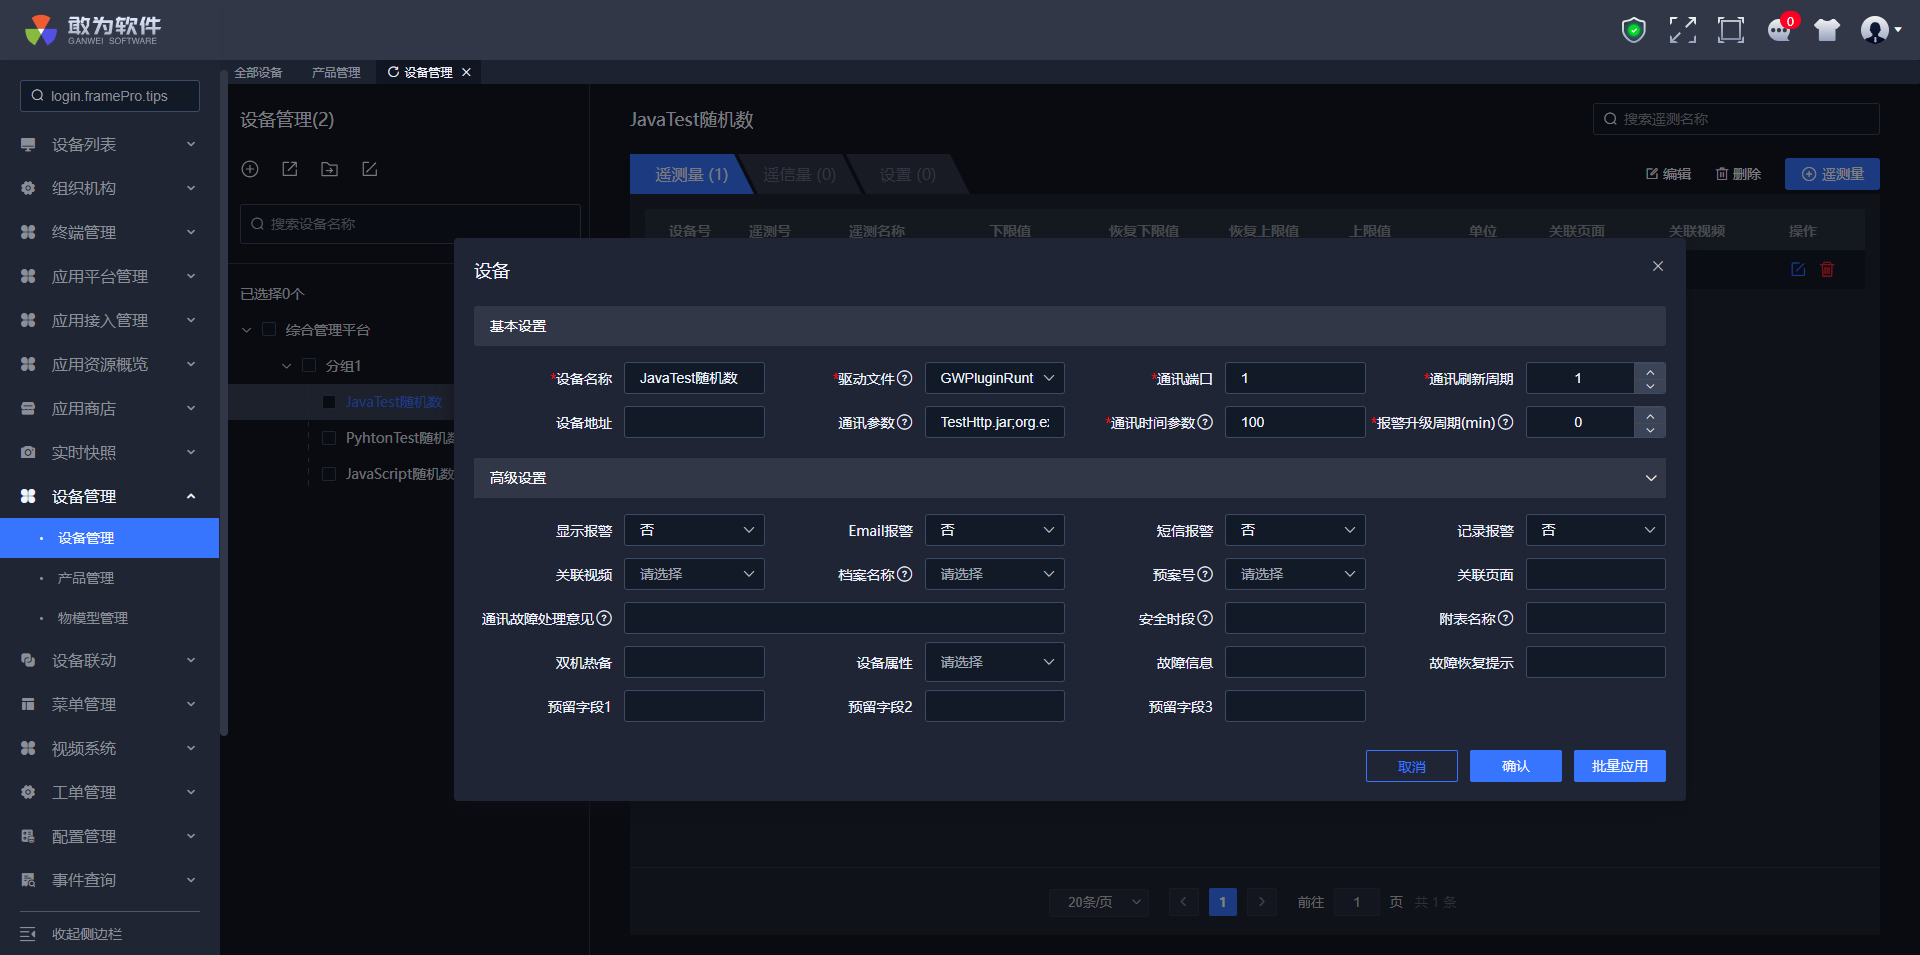
# 设备配置
详情
首先需要先在应用商店安装多语言开发脚本执行动态库。
- 新增产品
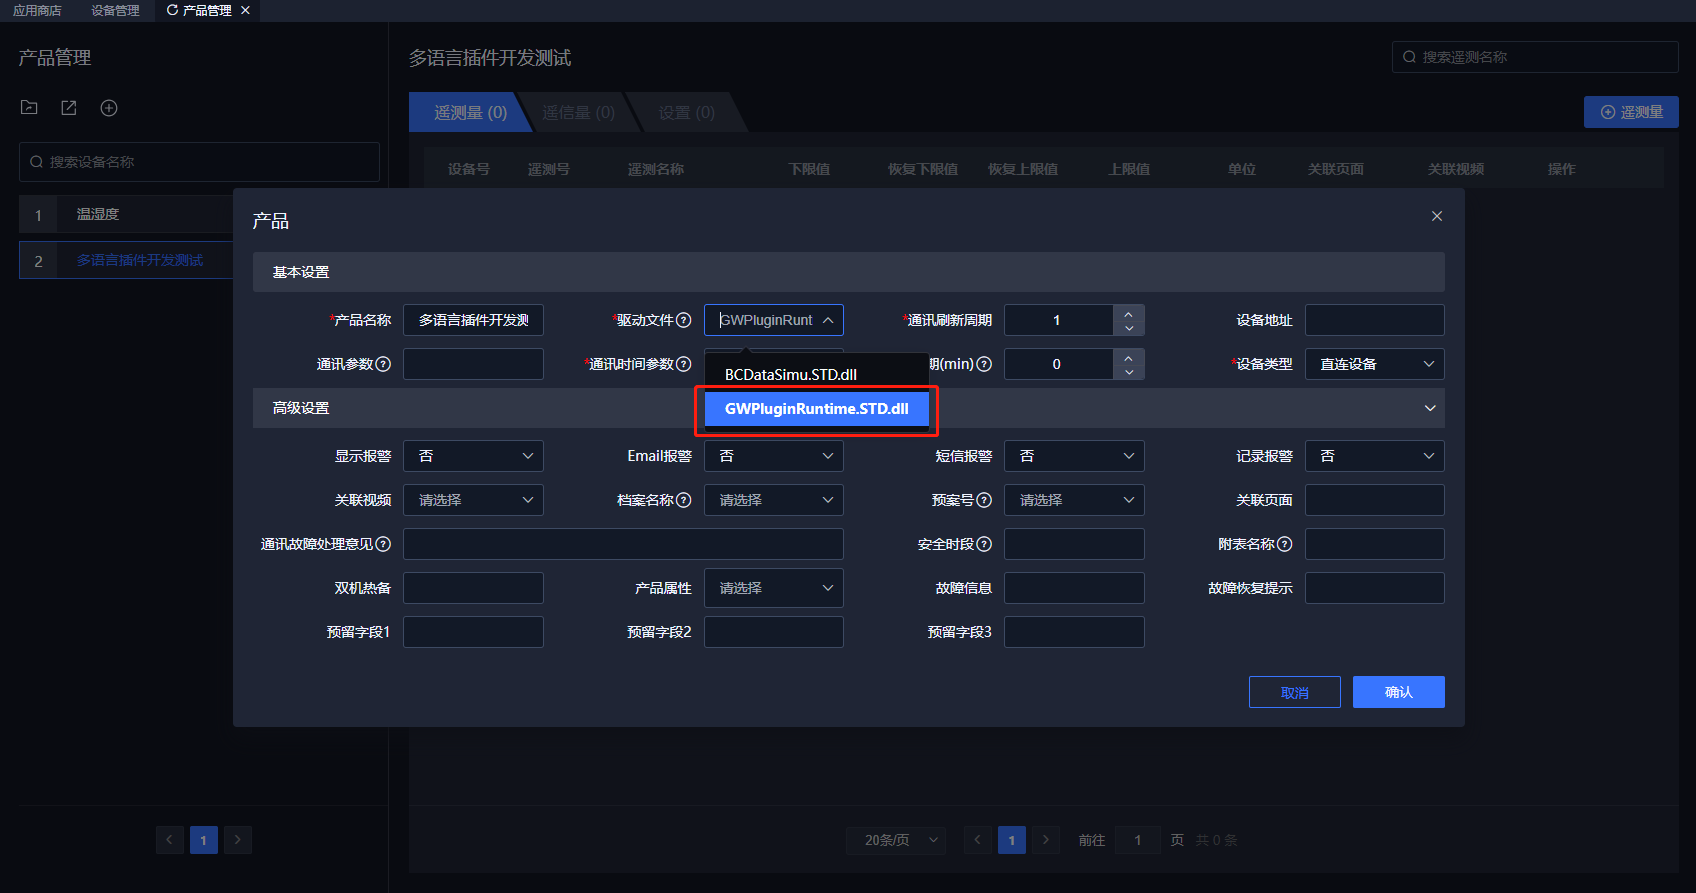
- 根据产品添加设备 参数配置
| JavaScript | Python | Java | |
|---|---|---|---|
| 通讯参数 | 脚本名称 如:test.js | 脚本名称如:test.py | 文件名称;命名空间 如:TestHttp.jar;org.example |
| 通讯时间 | int 类型。为取值间隔时间。单位为秒 | int 类型。为取值间隔时间。单位为秒 | int 类型。为取值间隔时间。单位为秒 |
通讯时间 int 类型。为取值间隔时间。单位为秒
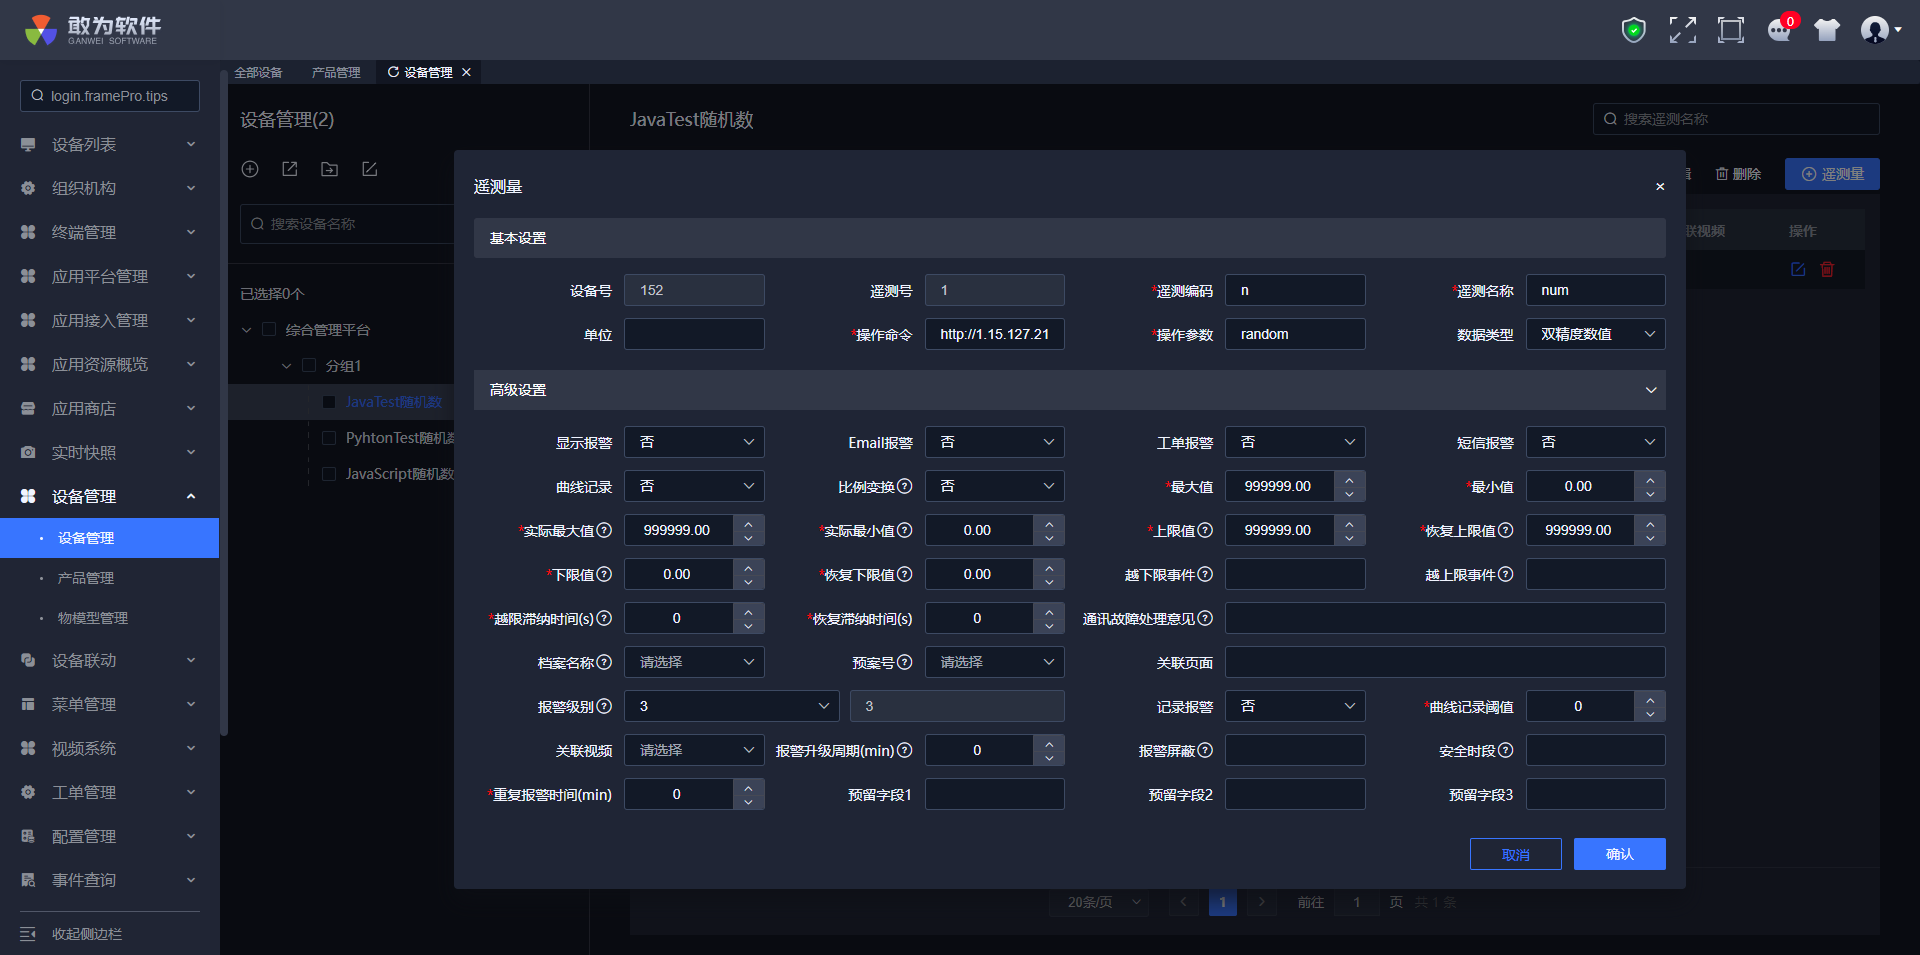
给设备添加遥测
操作命令:http://1.15.127.210:8092/IntelligentData/TestPostApi
操作参数:random
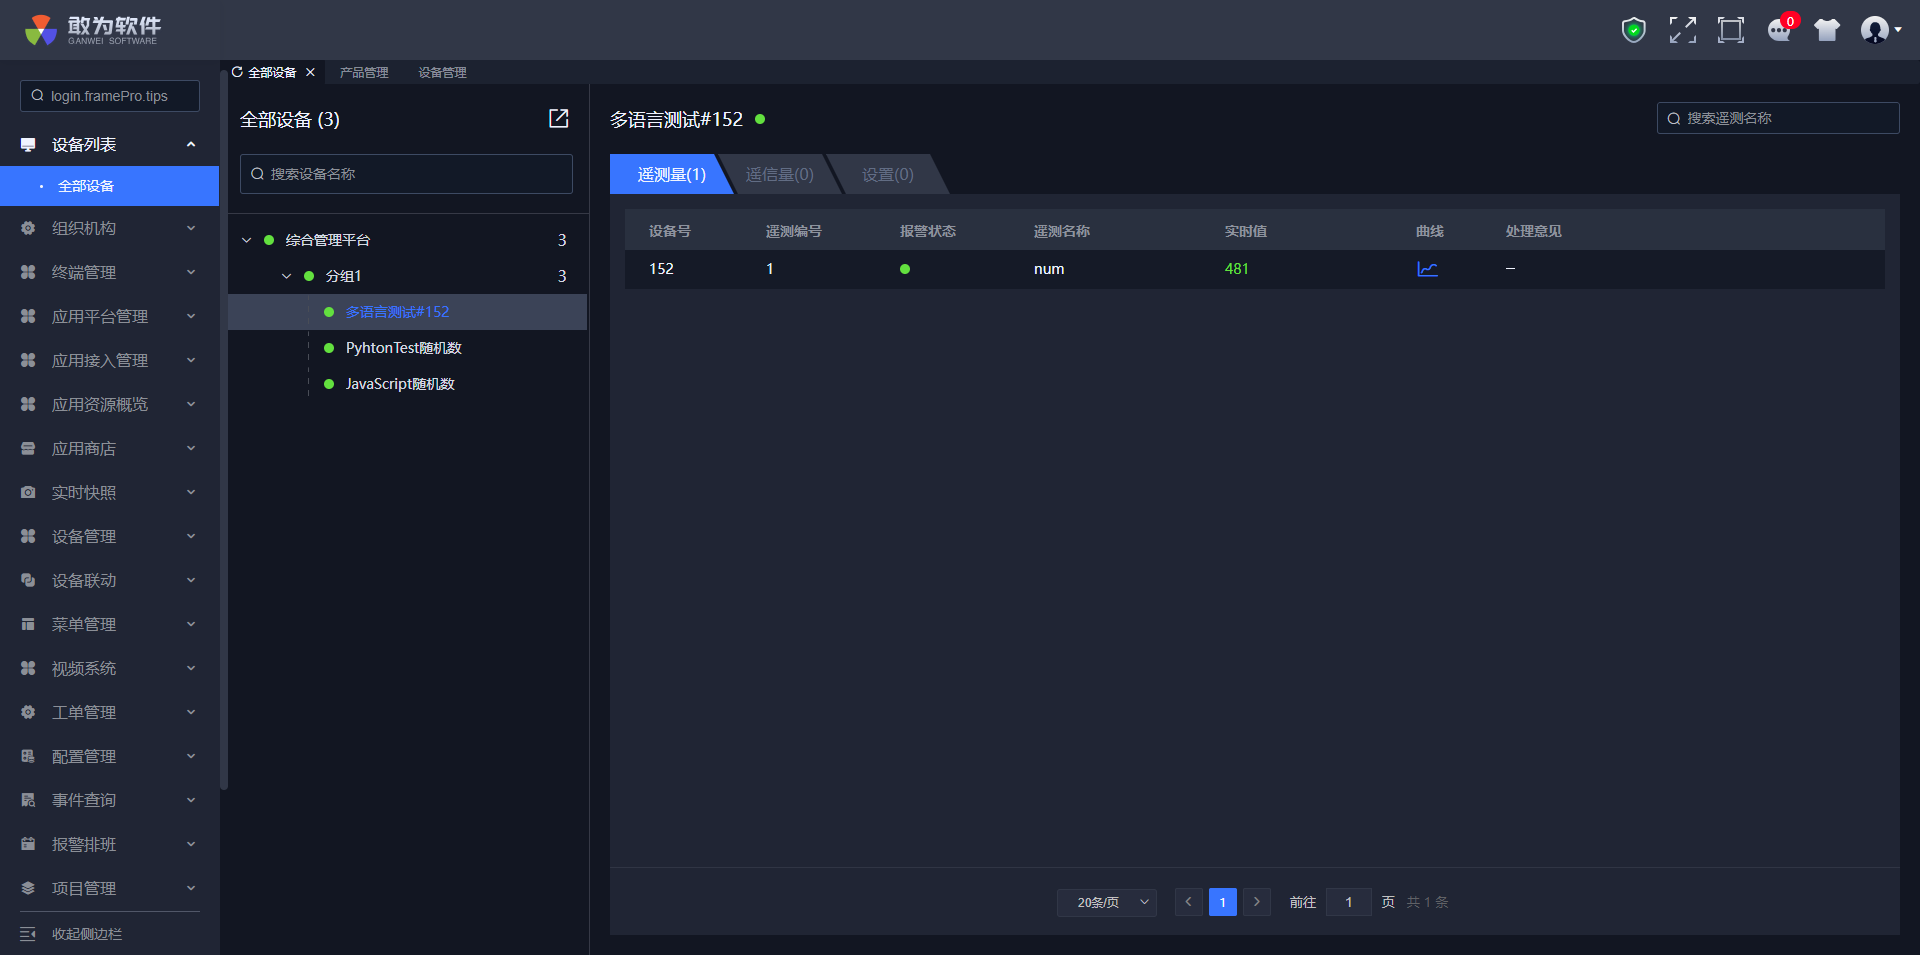
查看设备
# 注意事项及常见问题说明
详情
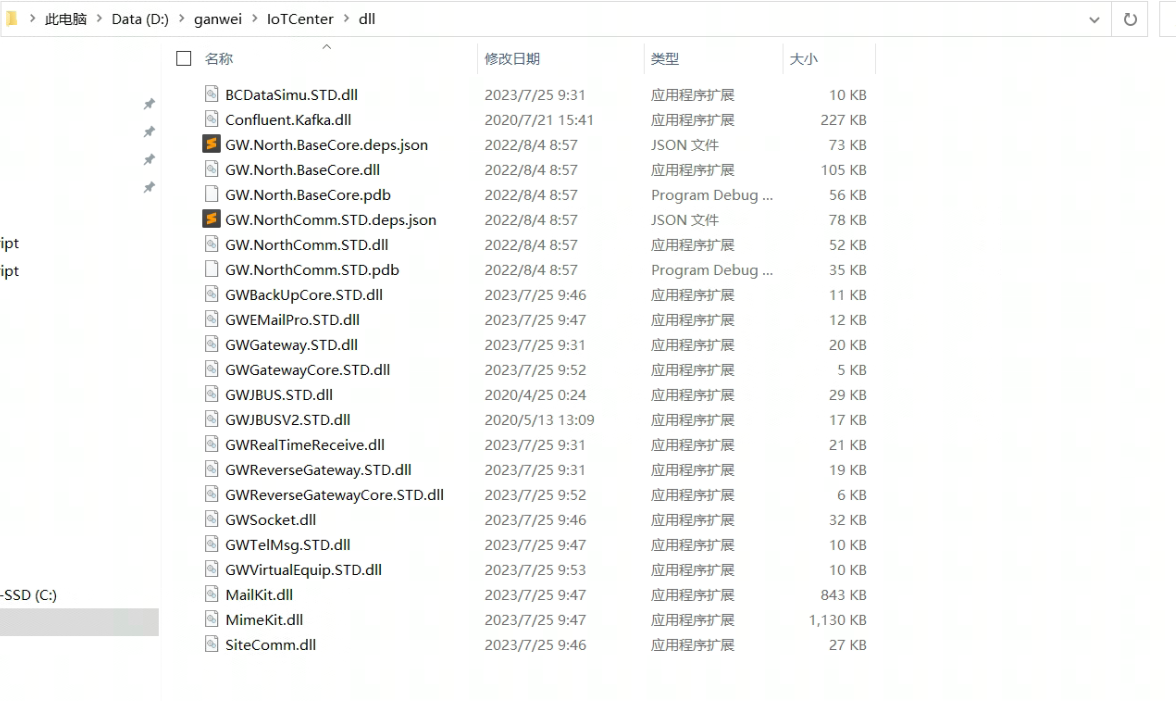
- 报错信息如下说明缺少JavaScript相关依赖包。
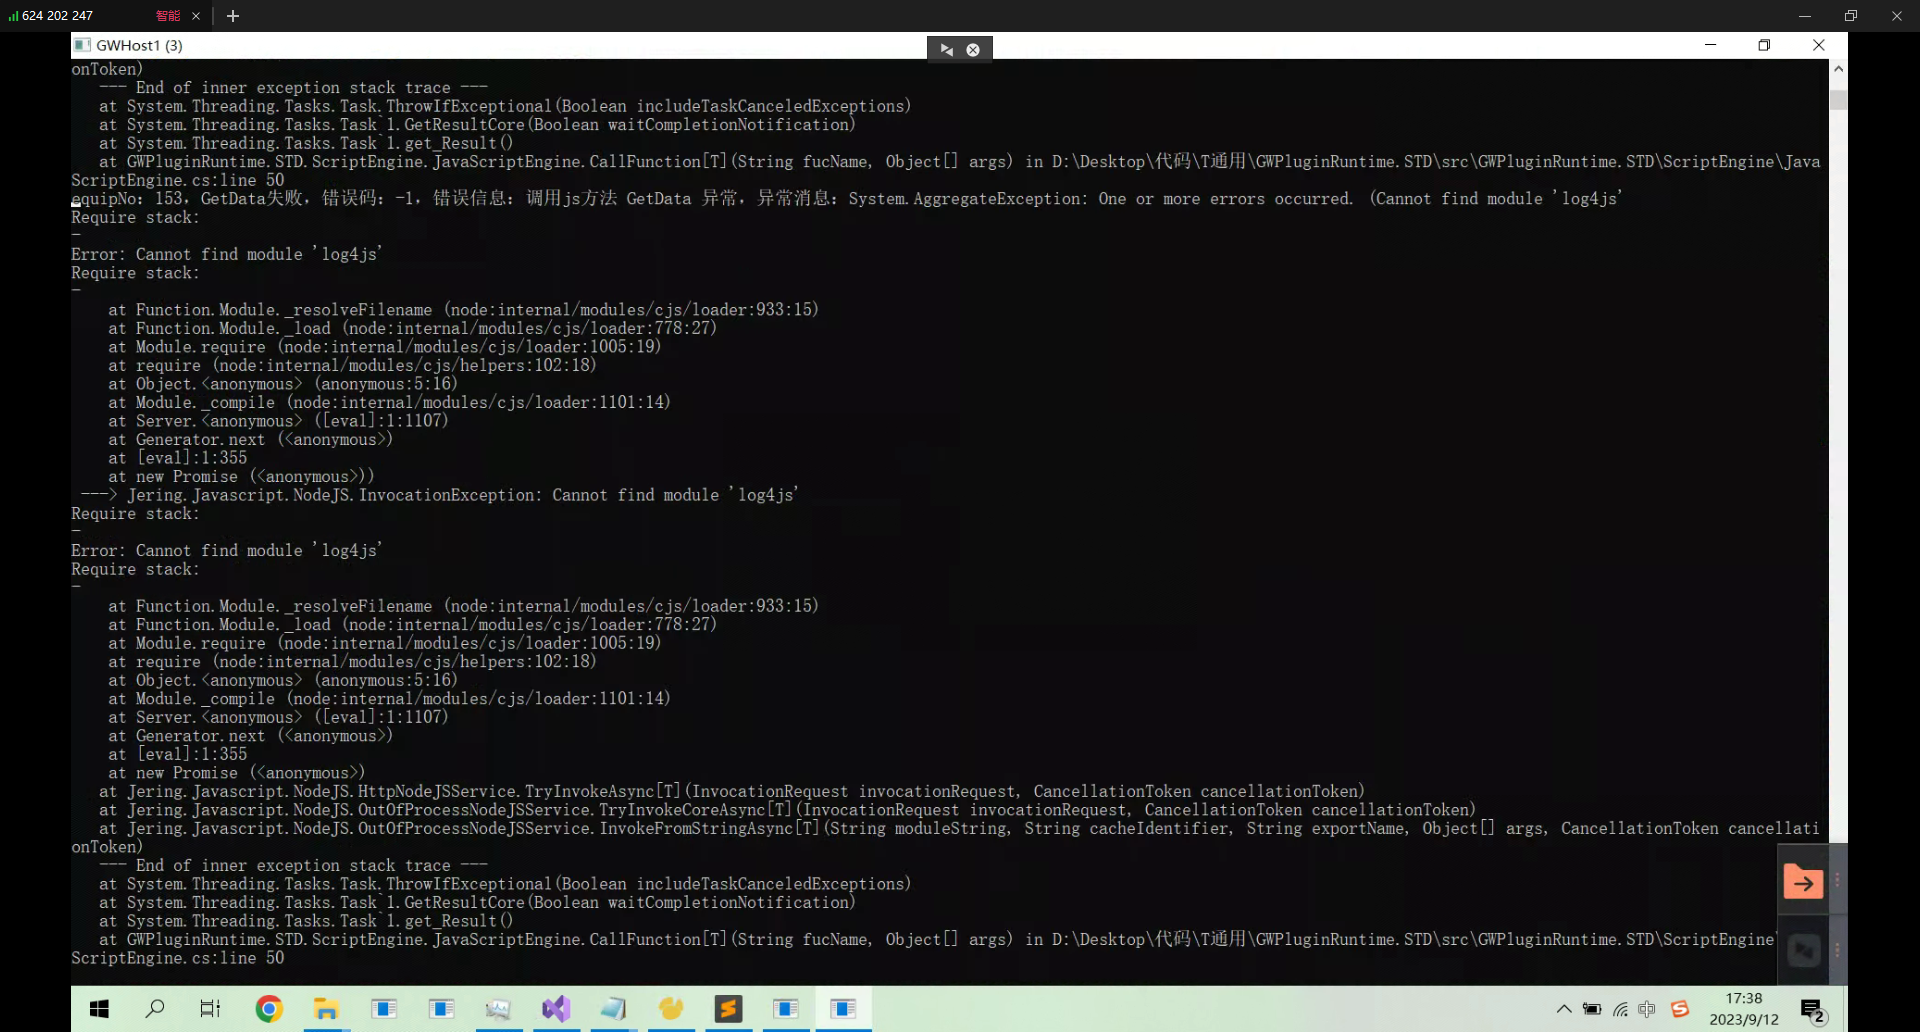
需要参考4.2nodejs环境安装 注:如果是缺少Python依赖文件需要将依赖文件放在dll目录下
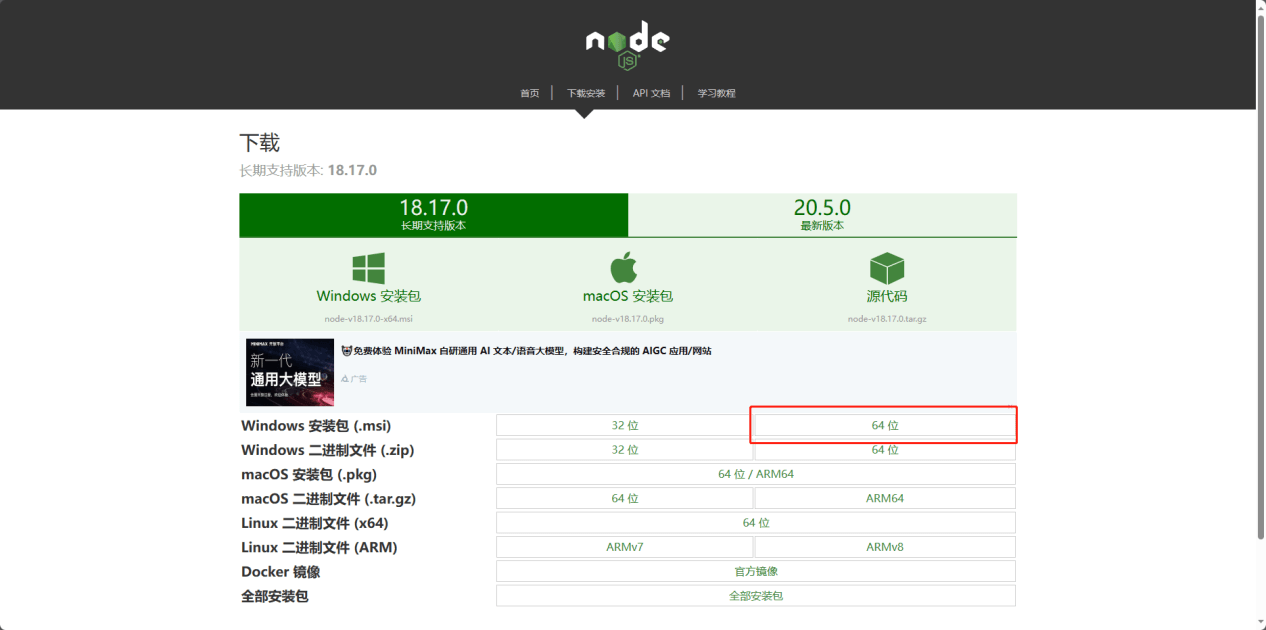
- nodejs环境安装 js脚本的执行需要依赖nodejs的环境,下载地址:https://nodejs.cn/download/
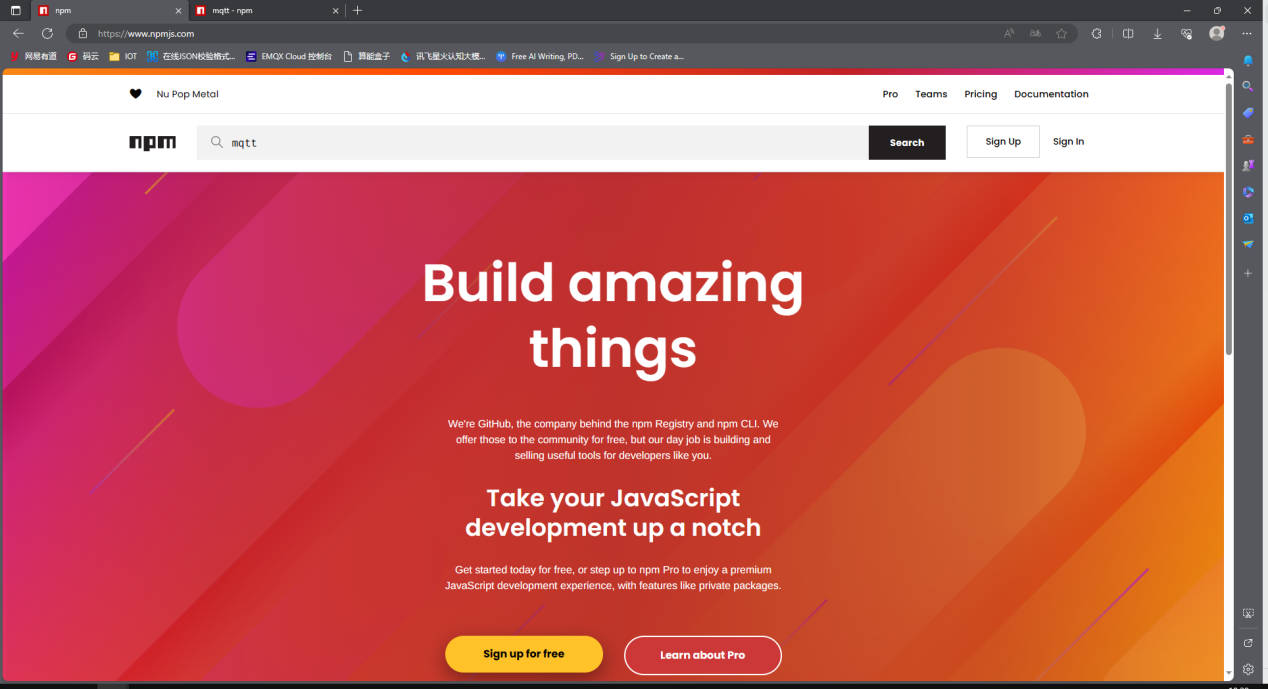


- nodejs依赖添加 可以在下面网址搜索依赖的相关命令:https://www.npmjs.com/
找到对应命令,在nodejs项目下执行
下载完成后,将所有相关依赖复制到IoTCenter/bin下的node_modules文件夹中
java环境安装 需要安装java的jdk,推荐使用jdk8 编译工具使用idea或eclipse
java打包注意事项 java需要创建maven项目,打包时需要将maven项目打成一个jar包,避免依赖版本之间的冲突。 打包步骤参考此文档:
https://cloud.tencent.com/developer/article/2091690
上次更新: 2023/12/6 18:29:50